Table of Contents
- Project Description
- Technologies and Libraries
- Features
- Usage
- Code Examples
- License
- Contact Information
Project Description
This React Shopping Cart application was built with the goal of solidifying my understanding in React.js and ReactStrap. Throughout the development process, I gained experience with various key React concepts, such as:
Components:
I learned to create functional components and how to properly structure an application using a component-based approach. This helped me modularize the code, making it more organized, reusable, and maintainable.
State Management:
I gained a deeper understanding of React state management using the useState hook. By managing local state within components, I was able to effectively control data flow and create a responsive user interface.
Event Handling:
I learned to handle user events like button clicks and input changes. This enabled me to create interactive components, such as adding and removing items from the cart or filtering items based on user input.
Conditional Rendering:
I practiced using conditional rendering to display different content based on the application’s state, such as showing a message when the cart is empty or displaying the cart summary when items are added.
Routing:
I utilized React Router to manage the navigation between different pages or components within the application, such as navigating to product details or moving through the checkout process.
Technologies and Libraries
The project was built using the following technologies and libraries:
- React.js
- JavaScript
- ReactStrap
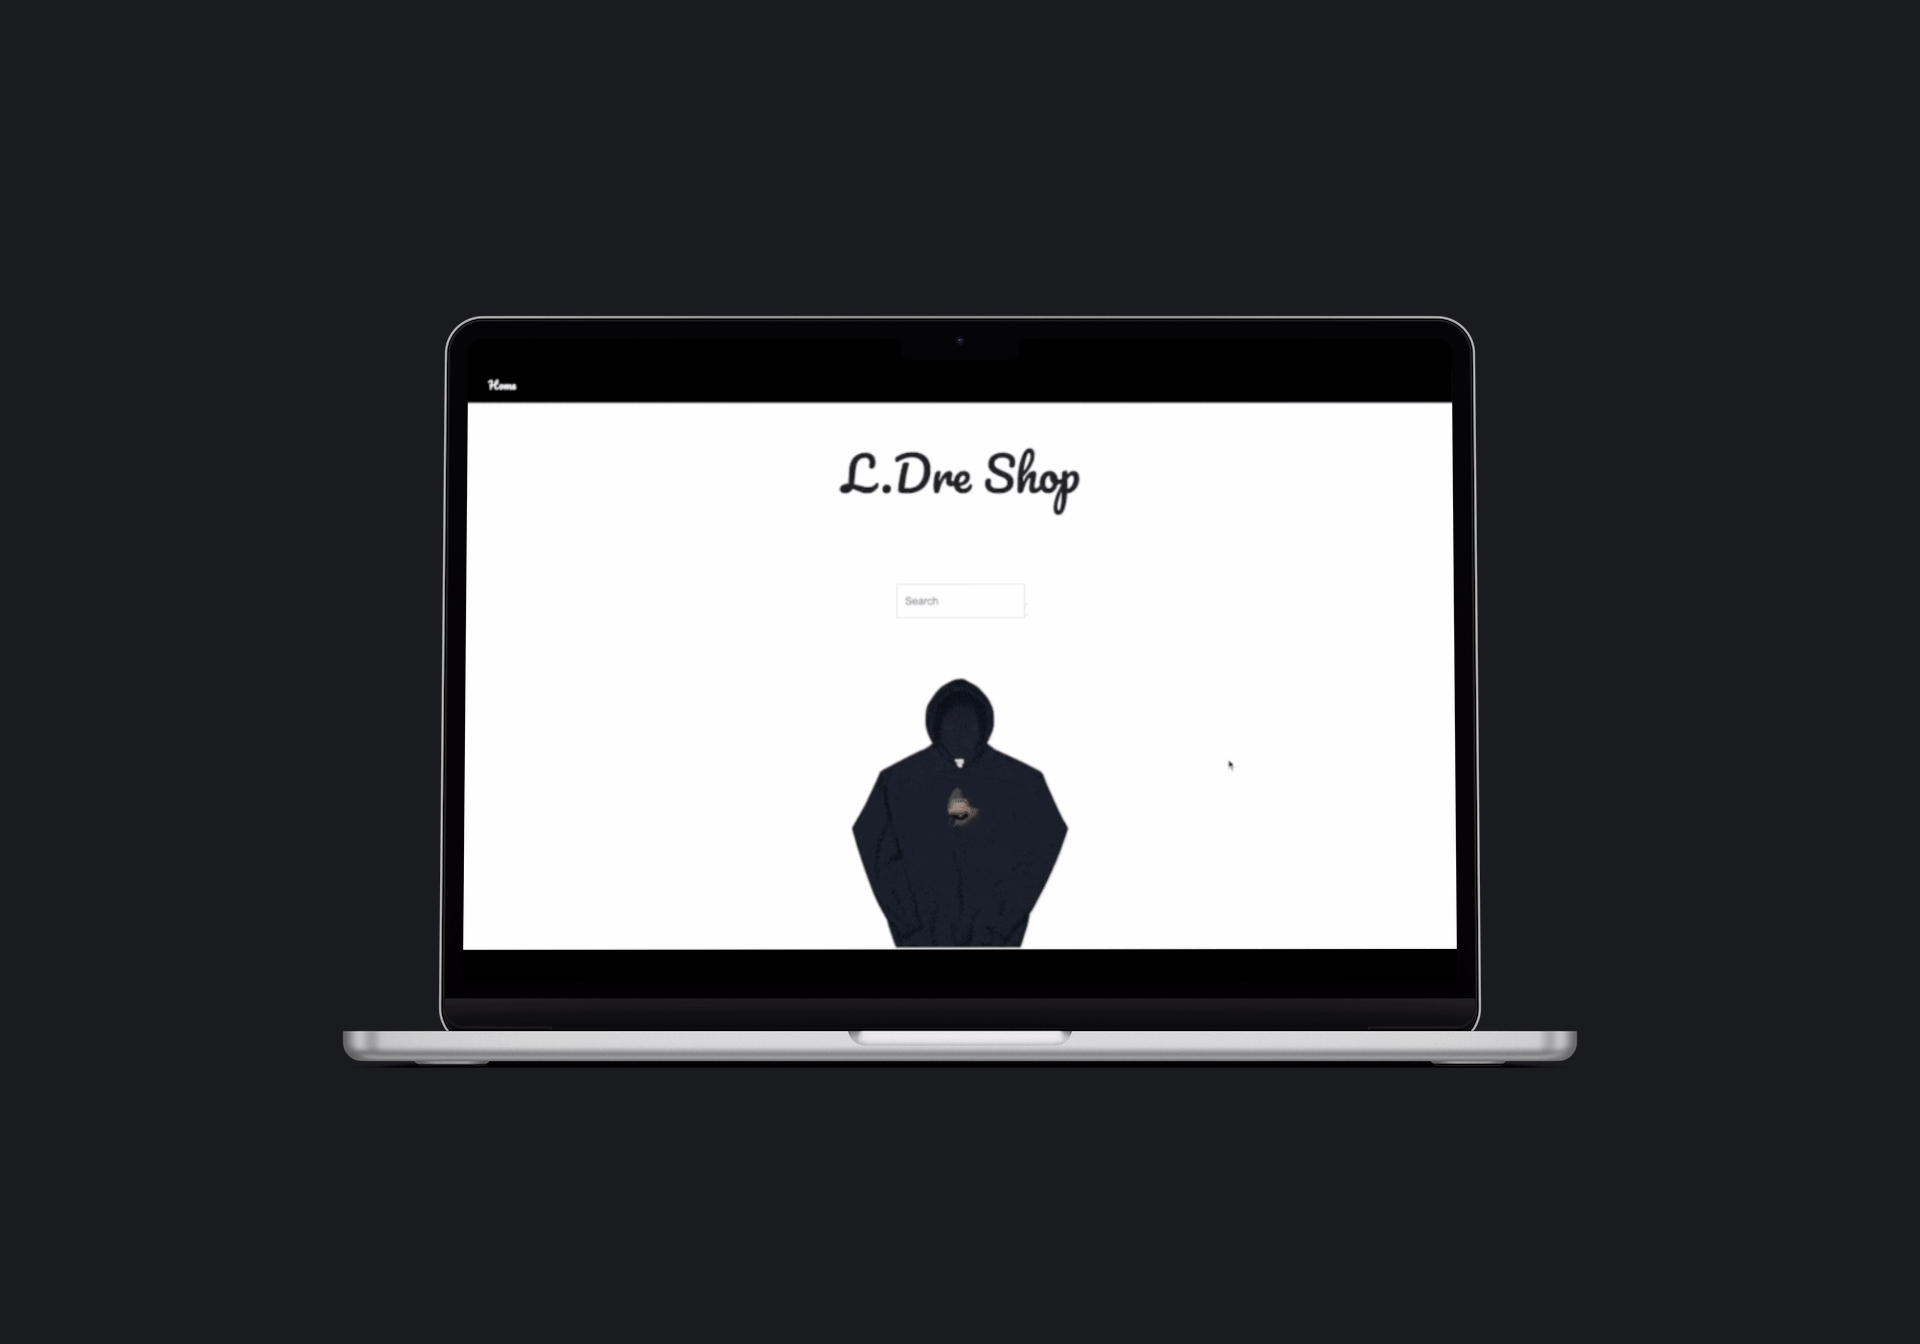
Features
This is an eCommerce website that helps users buy items from the store owner. It allows users to:
- Search for items listed for sale
- Add items to the cart
- Adjust item quantities in the cart
- View the cart summary, including item total, tax, and shipping costs
- Complete a checkout process
Usage
Once the application is running, you can interact with it through the web interface. To search for items, use the search bar at the top of the page. To add an item to the cart, click the “Add to Cart” button below the item. You should notice the cart quantity # update in the right corner. To view the cart, click the on the quantity # in the header. In the cart, you can adjust item quantities, remove items, or proceed to the checkout process. During the checkout process, enter the required information and click “Confirm Order” to complete the transaction.
Code Examples
Here are some code examples demonstrating key parts of the application, such as adding and removing items from the cart:
Adding an Item to the Cart
To add an item to the cart, the following onAdd function is used:
const onAdd = (product) => {
  const exist = cartItems.find((x) => x.id === product.id);

  if (exist) {
    setCartItems(
      cartItems.map((x) =>
        x.id === product.id ? { ...exist, quantity: exist.quantity + 1 } : x
      )
    );
  } else {
    setCartItems([...cartItems, { ...product, quantity: 1 }]);
  }
};
Removing an Item from the Cart
To remove an item from the cart or adjust its quantity, the following onRemove function is used:
const onRemove = (product) => {
  const exist = cartItems.find((x) => x.id === product.id);

  if (exist.quantity === 1) {
    setCartItems(cartItems.filter((x) => x.id !== product.id));
  } else {
    setCartItems(
      cartItems.map((x) =>
        x.id === product.id ? { ...exist, quantity: exist.quantity - 1 } : x
      )
    );
  }
};
License
This project is licensed under the MIT License.
Contact Information
If you have any questions, concerns, or would like to collaborate on this project, please feel free to reach out:
- Email: jonahrpena@gmail.com
- LinkedIn: Jonah Pena